When you spend your life working in the outdoors, you learn one thing quickly: Buy once, cry once. In the world of roof tents, the iKamper Skycamp 3.0 is that “once-in-a-lifetime” purchase. It isn’t the cheapest on the market, but after testing it against the unpredictable Scottish elements, it’s clear where that money goes.
Disclaimer: bestcarrooftents.com is a participant in affiliate programs. We may earn a small commission on purchases made through links on this page at no extra cost to you. This helps us keep our expert reviews free for everyone.
The First Impression: Engineering over Gimmicks
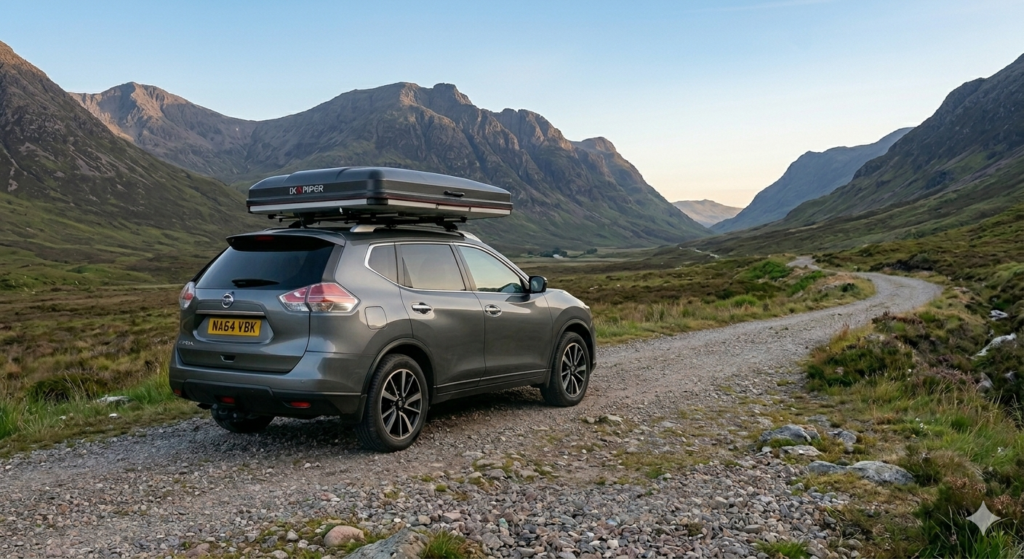
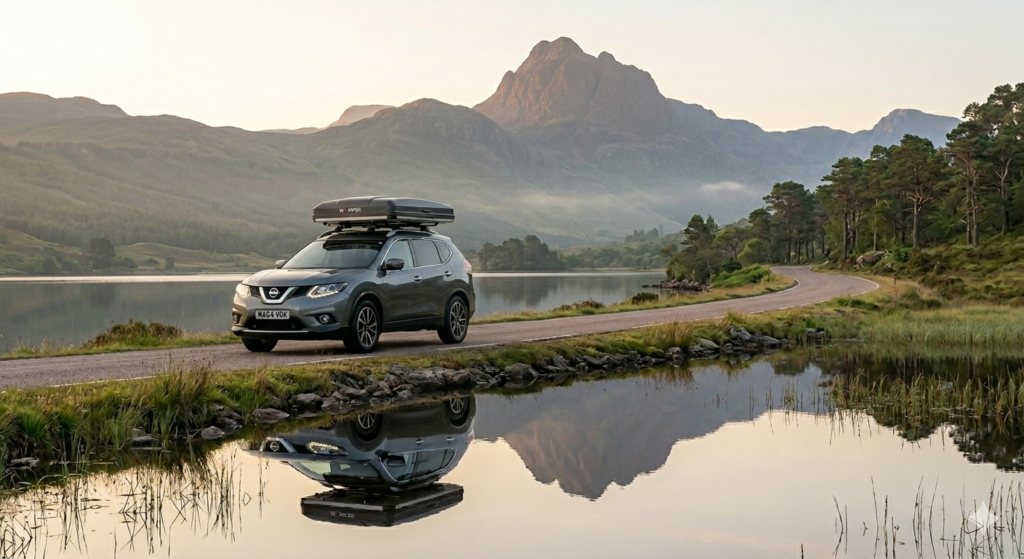
Most tents feel like camping gear; the Skycamp 3.0 feels like an extension of your vehicle. The hardshell is aerodynamic, reducing wind noise on the motorway, and the build quality—from the stainless steel locks to the reinforced hinges—is built for years of heavy use, not just a sunny weekend in July.
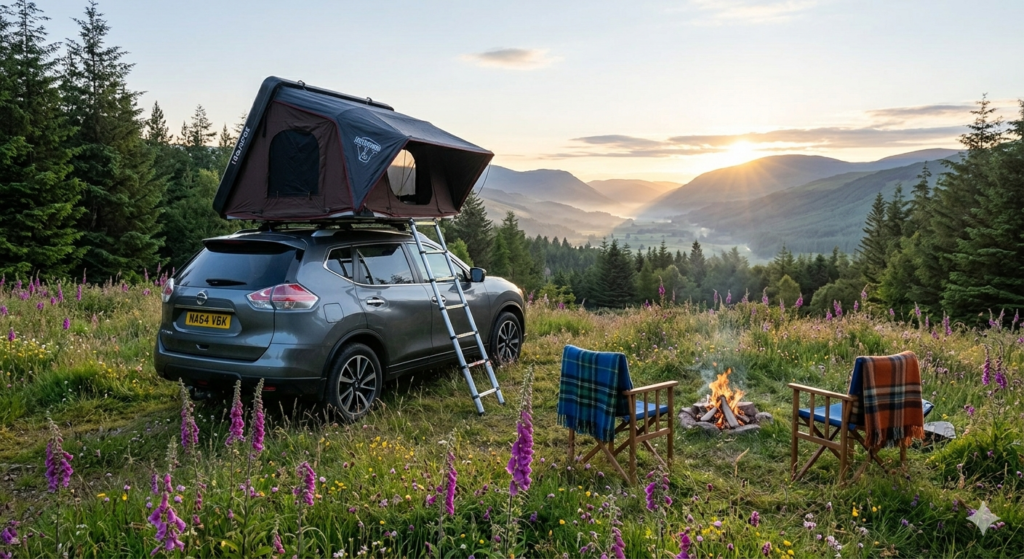
1. Deployment: The 60-Second Rule
In the UK, the weather doesn’t wait for you to faff with poles. The 3.0 uses a gas-strut assisted opening that is genuinely a one-person job.
- The Reality: From parked to “kettle on” is under 60 seconds.
- Why it matters: If you’re touring and changing spots every night, a slow setup becomes a chore that kills the mood. With the iKamper, it’s effortless.
2. Insulation & Weatherproofing
The Highlands are the ultimate testing ground. The Skycamp features a double-layered Fibre Reinforced Plastic (FRP) shell with a 1-inch air insulation gap.
- The Wind Test: While soft-shell tents flap and roar in a gale, the hardshell deflects the worst of it.
- Condensation: The breathable poly-cotton canvas is high-density. Even with the windows zipped during a downpour, the airflow is managed well enough to prevent that “damp tent” feeling in the morning.
3. Interior Comfort: The King-Size Factor
This is where the Skycamp 3.0 destroys the competition. Despite sitting compactly on top of a Nissan X-Trail or a Defender, it folds out into a King-Size footprint.
- The Mattress: It features a 2.5-inch high-density polyfoam mattress. It’s firm enough for support but soft enough that you don’t feel the floorboards.
- Storage: The 3.0 has been upgraded with internal pockets and enough “dead space” when closed to leave your sleeping bags and pillows inside. This is a massive production win for keeping the car interior tidy.
Will the Skycamp 3.0 fit your vehicle? Before you invest, make sure your roof rack and vehicle GVM can handle the load. [Button: Download my 8-Point Compatibility Checklist]
The Verdict: Pros & Cons
The Pros:
- Build Quality: Forestry-grade materials that handle salt, grit, and gales.
- Speed: Faster setup than almost any other fold-out tent on the market.
- Universal Fit: Low profile when closed makes it compatible with most mid-sized SUVs without killing your MPG.
The Cons:
- The Price: It is a premium investment (£3,500+ range).
- Weight: At 74kg, you need a high-quality roof rack system (no cheap half-ords bars).
Final Decision
If you are serious about off-grid confidence and want a setup that works as hard as you do, the iKamper Skycamp 3.0 is the benchmark. It provides the security of a hardshell with the massive living space of a fold-out. It’s simple, it’s durable, and it’s proven.
Mounting the Skycamp: What You Need to Know
The iKamper Skycamp 3.0 is a substantial piece of engineering. At 74kg, you aren’t just “throwing it on.” You need a plan.
1. The Two-Person Rule (Minimum)
Do not attempt to lift this alone. To safely clear the height of an SUV like the Nissan X-Trail or a Discovery without scratching your paintwork, you need two strong people—one at each end.
- The Strategy: Use a stable step-ladder for the person at the rear of the vehicle to ensure you aren’t over-reaching while holding 37kg of dead weight above your head.
2. The Professional Setup: The Garage Hoist
If you plan on taking the tent off between trips to save fuel or height clearance, I highly recommend a pulley or hoist system attached to your garage rafters.
- The Benefit: It allows one person to lower the tent directly onto the roof bars in minutes.
- Pro Tip: Use high-quality drop ropes and padded slings to avoid putting pressure on the tent’s locking latches while it’s suspended.
3. The Mounting Brackets (iKamper 3.0 Upgrades)
One of the best features of the 3.0 is the Mounting Brackets 3.0. They are a massive improvement over the older 2.0 sliding bolts.
- Tool-Free (Almost): They use a vertical bolt system that clamps onto your crossbars. You only need a simple Allen key (provided) to tighten them.
- Compatibility: They fit crossbars up to 1.2″ (3cm) high and 3.5″ (9cm) wide. Check your bar dimensions before the tent arrives.
4. The Torque Check
Once mounted and tightened, drive for 10–20 miles and then stop and re-tighten the brackets. Vibrations on gravel tracks can settle the rubber padding; that second tighten is what ensures the tent stays rock-solid for the rest of your expedition.